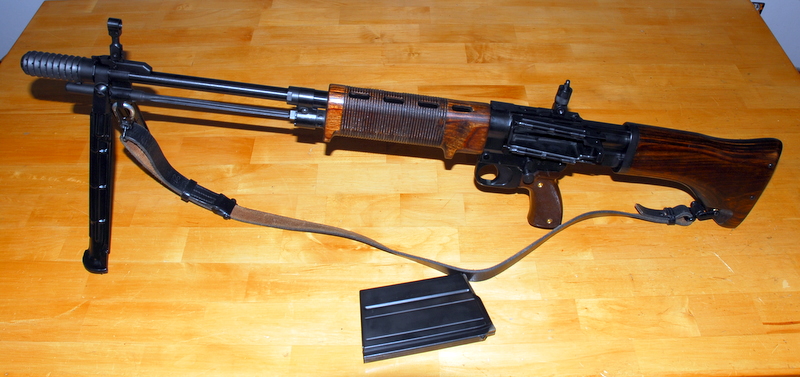
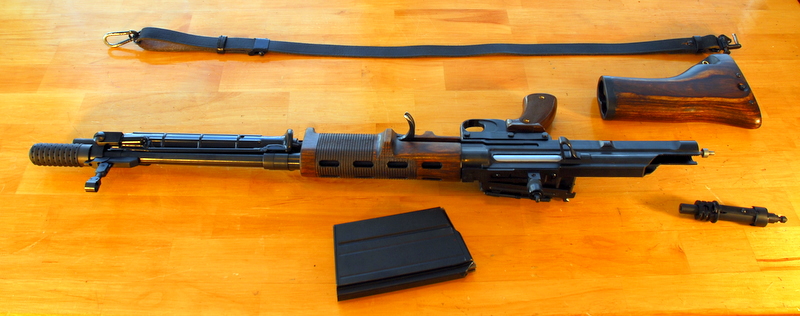
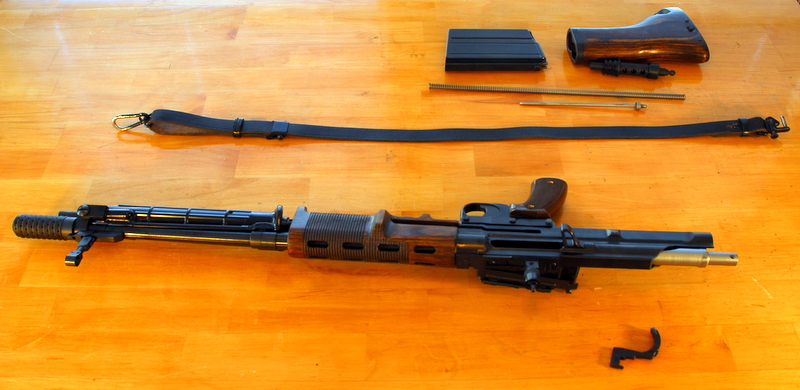
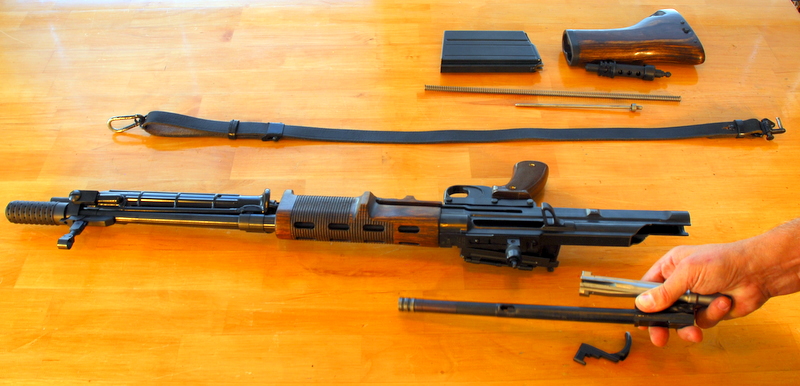
I've received my SMG Guns FG42 II and I'm quite happy with it. Here's a few photos and an outline of
the field stripping process. SMG has a really good detail page on the ordering process and details on
the FG-42. It's at this link:
SMG Future FG42 buyers info/specs.
Field Stripping the SMG FG42 II
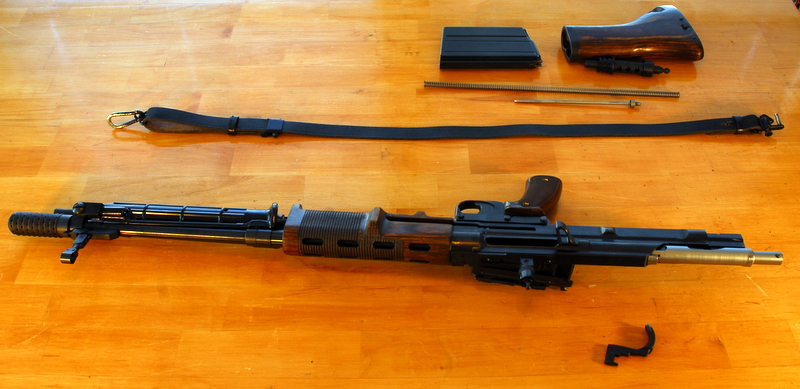
Here let's walk through the steps to field strip the FG-42. First thing remove the
magazine and make certain that there is no live round in the chamber by cycling
the action and visually checking that there is no cartridge in the chamber.
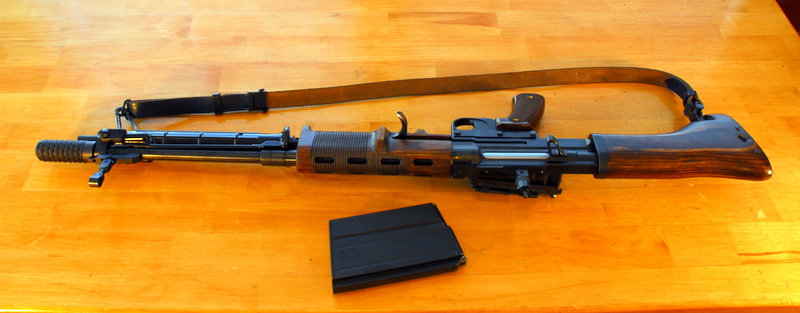
Remove the sling and lay it aside.
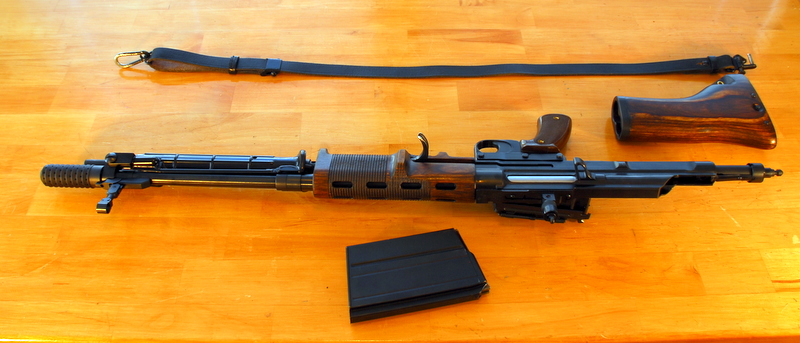
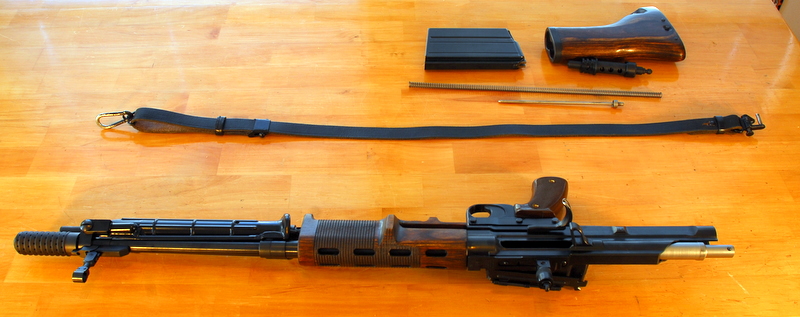
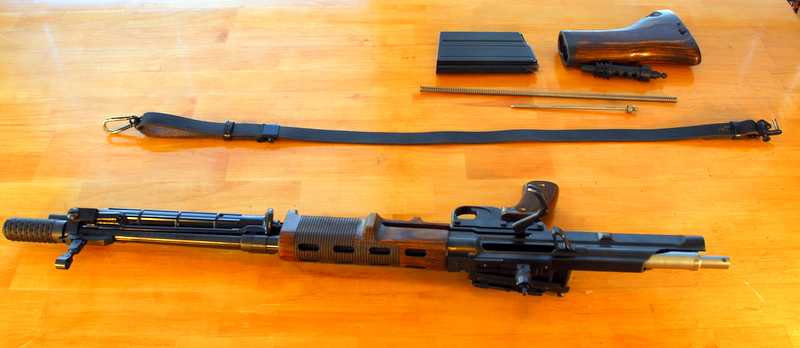
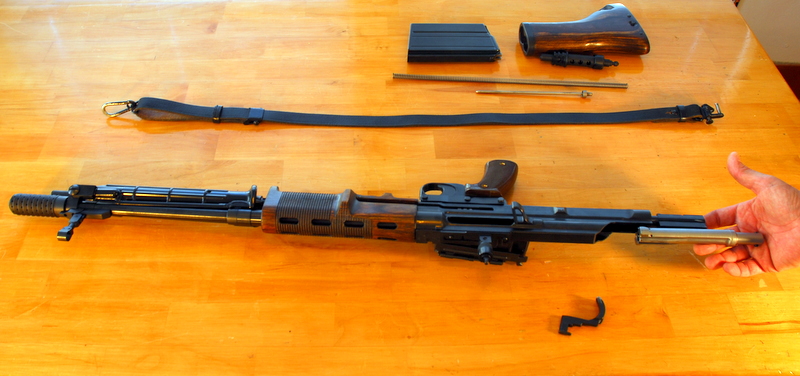
Next remove the stock by depressing the button at the side of the stock and pulling it
off of the receiver.
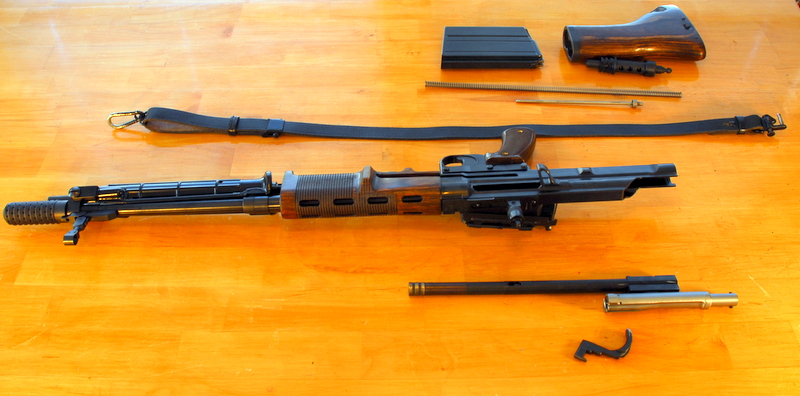
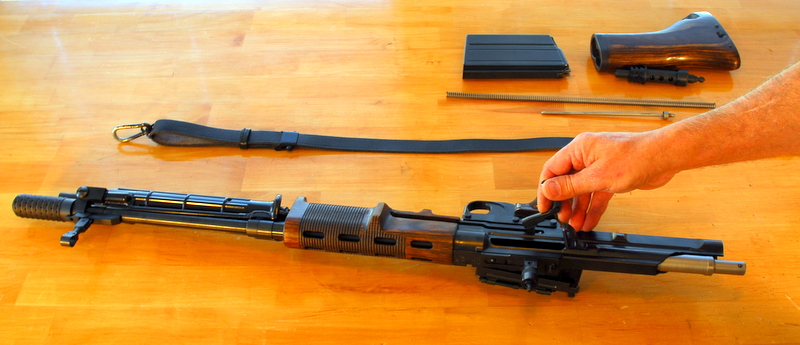
Next depress the spring clip holding the buffer from turning, and turn it 90 degrees and
remore it by pulling straight back out of the receiver.
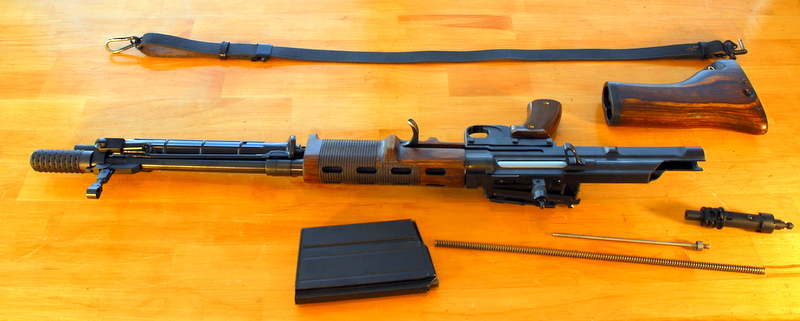
Next withdraw the recoil spring and the recoil spring guide and lay them aside.
Grap the bolt handle and pull it all the way to the rear.
With the bolt and bolt handle all the way to the rear rotate the bolt handle out of the bolt.
It is held by a sliding lock so if it does not come out easily raise the rifle to vertical
and rap it gently on the bottom end. This should slide the lock out of the way.
Remove the bolt handle and set it aside.
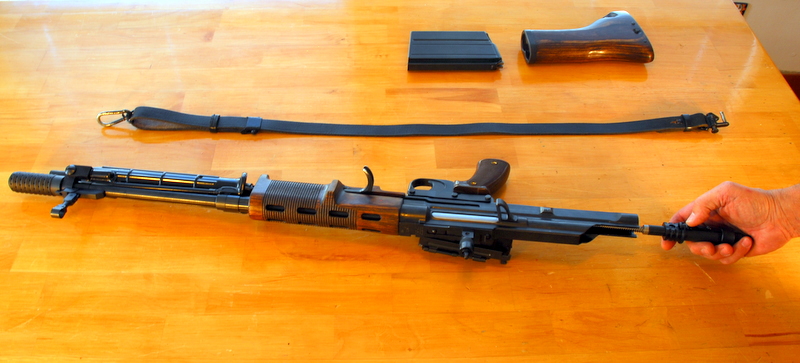
Slide the bolt and carrier to the rear. Notice as the bolt lugs begin to emerge from the
receiver. As soon as the bolt lugs clear the spring tension will cause the bolt to rotate.
Notice as the bolt has rotated.
Withdraw the bolt and set it aside. The FG42 is stripped as far as you'll want to go
in the field. It is possible to strip down the bolt and firing pin but you need the nose
of a cartridge or a small screwdriver. And you don't want to loose these small parts.
Reassembling the SMG FG42 II
To reinsert the bolt and carrier you will have to rotate the bolt so that the lugs
are vertical and hold them as you insert it back into the receiver. As the bolt is
inserted pull the trigger to let the bolt carrier pass
Make sure the bolt handle lock is to the rear and reinsert the bolt handle. Slide the
bolt fully forward and depress the trigger to allow the bolt to go fully forward.
Insert the recoil spring and recoil spring guide. Then insert the buffer with the
release catch pressed and turn it so that it locks in place.
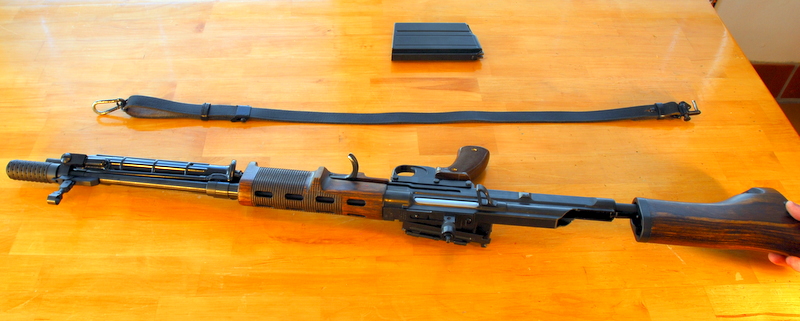
Lastly slide the stock over the buffer assembly and let it lock into place.